

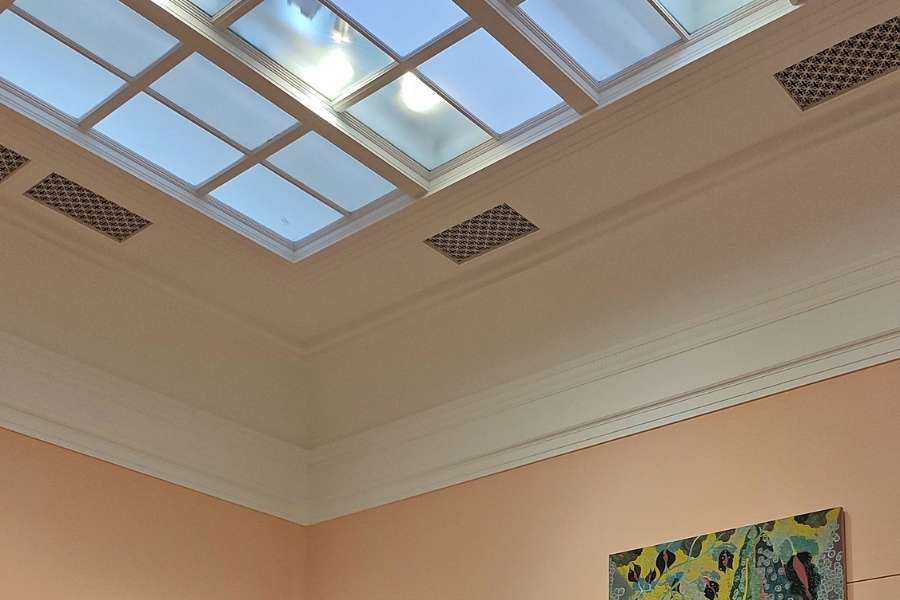
Want to transform a dull, boxy room into a cozy haven? Installing crown molding is the single best architectural upgrade you can tackle. Many homeowners fear those tricky compound angles. However, fitting ceiling trim is actually straightforward once you learn the basics. You do not need decades of experience to get clean seams. With steady patience, accurate measurements, and simple tools, your home will look amazing. Getting tight seams requires understanding how pieces join together. Walls are rarely flat, and corners are almost never ninety degrees. Flexing your layout around these flaws is part of the job. Taking time to mark studs and practice cuts builds total confidence fast. Let us walk through the exact steps to upgrade your house today.
Essential Tools and Materials for Your Trim Project
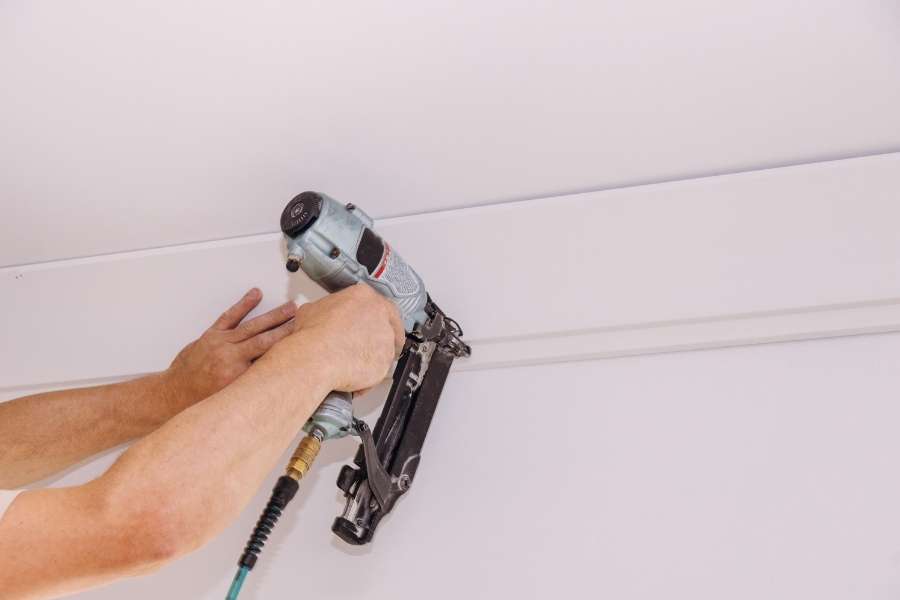
Gathering reliable gear keeps your workflow moving fast. You can easily install ceiling trim without professional tools like commercial rigs. A few solid items give you clean cuts and steady holding power. Stocking up on essential gear helps you seamlessly integrate secondary home upgrades, like testing out creative DIY wall decoration ideas alongside your woodwork. For this project, bring a precision miter saw for smooth angle cuts, a durable measuring tape for exact wall lengths, and a cordless Brad nailer loaded with sharp finishing nails. Keep strong wood glue, paintable caulk, a fine coping saw, a sand block, and spackle on hand to fill nail holes in wood molding. Having these supplies nearby saves trip time across the room. Check your saw blade condition before making your first cut. Now you are ready to measure every wall section carefully.
Accurate Preparation and Measuring Techniques
Preparation takes most of your effort in finish carpentry. Minor drywall bumps and ceiling dips happen in every house. Careful measuring stops material waste and saves endless headache. Taking charge of your space with hands-on improvements is simple, much like exploring smart DIY home automation on a budget solutions to modernize your interior layout alongside new trim.
Mastering Wall Measurements
Run your tape right along the top edge of each wall. Always buy ten percent extra material for miter scraps and mistakes. When you measure walls for crown molding installation, write down each run separately. Locate wall studs using a electronic finder so your nails grip firmly.
Choosing Your Trim Style and Profile
Match your trim scale to your overall room size. Tall ceilings look great with wide, multi-step profiles. Small rooms benefit from simple, narrow trim shapes. Pre-primed boards speed up your final painting phase immensely. Select composite or real wood based on your budget needs.
Cutting Techniques for Tight Seams
Cutting angled molding feels strange because pieces sit tilted inside your saw. Understanding board placement prevents confusing backward cuts.
Positioning Trim on the Miter Saw
Set your board upside down against the saw fence. The top ceiling edge rests flat against the saw base. Hold your piece firm before starting your miter saw motor. Test your settings on scrap wood before cutting long lengths.
Mastering Inside and Outside Corner Cuts
Inside corners fit best when joined tightly together. Learning how to cut inside corners for crown molding with a coping saw eliminates gaps. Outside corners use two matching forty-five degree angle cuts. Always test your corner joints on the ground first.
Step-by-Step Installation Process
With pieces cut, you can mount boards along the ceiling. Working systematically around the space keeps your layout neat.
Mounting the First Lengths
Start on your longest continuous wall using straight end cuts. Apply wood glue to joins and drive finishing nails into studs. Push boards tight against the ceiling while securing your fasteners. Keep checking alignment continuously along the wall line.
Securing Joints and Corners
Join long straight pieces using overlapping forty-five degree scarf joints. This overlapping joint prevents gaps when boards expand and shrink. Apply adhesive generously at every single corner connection point. Wipe away excess wet glue instantly using a wet rag.
Finishing Touches for a Seamless Finish
Small finishing steps turn basic cuts into professional work. Caulk and spackle hide structural flaws and nail heads effortlessly.
Filling Fastener Locations and Gaps
Inspect every length for small structural seams or metal dimples. Use a knife to fill nail holes in wood molding with spackle. Let the compound dry before sanding everything soft and flat. Run paintable caulk along top and bottom edges for tight seals.
Painting and Final Touches
Coat raw patches with quality primer before applying top paint coats. Semi-gloss paint gives your trim a bright, clean sheen. Brush along the board length using long, smooth hand motions. A quick second coat makes your architectural detail pop.
FAQ
What is the easiest way to cut crown molding for beginners?
Set boards upside down on your saw table. Place top edges flat against the saw bed.
Can I install crown molding alone or do I need help?
You can work alone using simple wooden support blocks nailed into drywall to hold board weight.
How do I handle corners that are not perfect 90-degree angles?
Measure corner angles directly, then divide by two. Coping inside joints hides uneven angle errors easily.
