

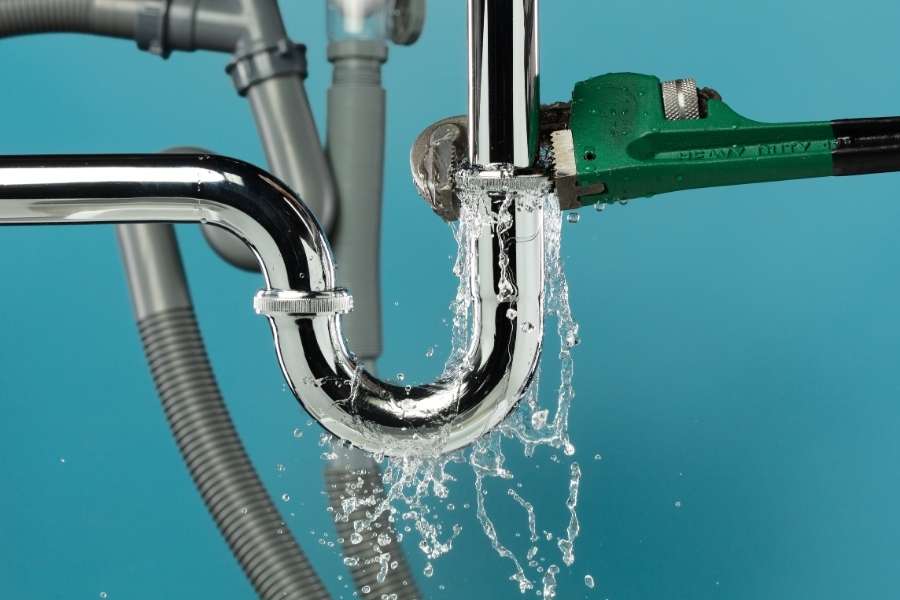
Can you hear water running when all taps are off? That faint dripping sound inside your drywall might ruin your home. A hidden water leak creeps silently, rots wood framing, and triggers toxic decay. Finding it fast saves your budget, protects your health, and keeps your living space safe.
Why a Hidden Water Leak Threatens Your Entire Home
Unseen pipe failures do far more than waste utility resources each day. Water slowly softens plaster, rots wooden studs, and weakens sheetrock integrity. High humidity inside wall cavities breeds toxic black mold colonies within two days. Trapped water runs down framing, warping baseboards and damaging decorative trim along upper ceiling joints. If you recently completed a renovation or followed a crown molding installation guide, hidden dampness can ruin all that fine woodwork within days.
According to the Environmental Protection Agency, indoor dampness creates serious respiratory hazards. Trapped water also ruins fiberglass insulation, making your heating bills rise quickly. Pests like termites love soggy timber frames deep inside partitions. Structural decay spreads silently across floors and ceilings before you notice anything. Water migration follows unpredictable paths along studs and metal electrical conduits. A puddle near a doorway might originate from ten feet away. Addressing this problem demands immediate attention and focused diagnostic tools.
Key Signs You Have Moisture Trapped Behind Drywall
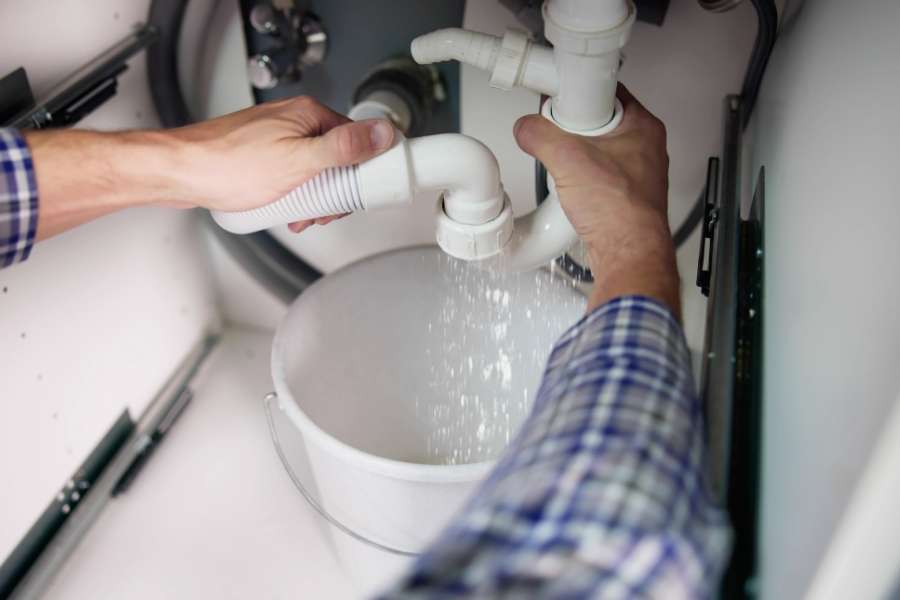
Before you start cutting into sheetrock, look for visible clues across your room surfaces. Internal plumbing problems always leave clear footprints if you inspect closely. Discolored drywall or peeling paint indicates active water accumulation nearby. You might also notice soft spots when gently pressing against baseboards. Bubbling wallpaper often points directly to localized water infiltration problems behind your finished surfaces.
Homeowners often discover damp patches right while hanging art or planning creative diy wall decoration ideas across the room. Lingering musty odors near room corners confirm hidden organic decay. Early detection prevents massive structural repairs down the road. Keep a sharp eye out for dark rings, yellow ceiling patches, or baseboards that flex when touched. Sudden spikes in monthly utility bills without explanation also point to hidden trouble. Warped floorboards buckling next to an interior partition confirm water accumulation beneath finished floors. Do not ignore minor stains, because small trickles create massive cavities over time.
How to Check Your Water Meter for Unseen Pressure Loss
Your utility gauge provides the fastest baseline check for internal line failure. Plumbers rely on this diagnostic test before using advanced tools. Start by shutting off every water outlet inside and outside your house. Turn off washing machines, dishwashers, bathroom fixtures, and garden hose bibbs. Do not run ice makers or water filters during this test period. Ensure nobody flushes a toilet while you perform this reading. Walk outside to check your water meter register directly.
Note the small red triangular or star-shaped flow indicator dial carefully. If this indicator spins while all taps are shut, you face active loss. Wait two hours without using any plumbing fixtures across the house. Check the digital or analog register numbers again after this timeframe. Any change in total consumption proves an active leak exists somewhere. Confirming line loss early helps prevent serious indoor structural damage. When the numbers shift, you must isolate the damaged pipe section immediately.
Simple Methods to Find an Invisible Water Leak in Living Areas
Pinpointing the exact zone prevents unnecessary demolition of healthy drywall partitions. Smart homeowners combine visual observation with targeted testing techniques. Water follows gravity, but capillary action pulls liquid horizontally along framing. Therefore, surface stains rarely sit right over the broken copper joint. You must trace wet pathways carefully back toward the main supply. Learning how to detect a hidden leak saves hundreds in drywall repair. Take your time surveying suspected partitions systematically across every room. Look beneath sinks, around shower valves, and behind laundry room hookups first. Apply systematic checks to turn off taps, observe the utility dial, mark damp outlines, and scan partitions methodically. Moving logically prevents unnecessary holes in your finished living space.
Diagnostic Tools That Reveal Trapped Moisture
Modern tools eliminate guesswork when locating water trapped inside structural cavities. You do not need commercial plumbing experience to use them effectively. A digital pinless moisture sensor detects damp spots through sheetrock reliably. Move the sensor flat against partition surfaces to map high-reading boundaries. Mark the highest moisture readings with a pencil to define the core. This boundary mapping reveals where trapped water collects most heavily. You can also employ an infrared thermal camera to locate cold anomalies. Evaporating water cools drywall surfaces, creating distinct blue signatures on digital screens. Acoustic listening tools help you hear internal pipe hiss inside closed partitions. Combining these instruments helps you find an invisible water leak without guesswork.
Step-by-Step Guide to Spot Moisture on Walls Accurately
Tracking down damp zones requires patient investigation across adjacent living spaces. You must inspect both sides of any wall sharing plumbing runs. Start in areas where supply lines run directly to heavy appliances. Check bathrooms, kitchen utility walls, and laundry hookups for subtle dampness. Inspect baseboards where sheetrock joins the subfloor for swelling. Water pools at floor plates long before breaking through vertical paint. Run your hand along the lower twelve inches of baseboards to spot moisture on walls like an expert. Look for tiny pinholes or flaking paint along taped sheetrock seams. Check nearby cabinets for swollen particleboard or peeling laminate shelves. Compare room humidity levels using a portable hygrometer. Systematic scanning ensures you uncover every damp pocket behind your trim. Early discovery protects structural framing from long-term wood rot and insects.
How to Access and Open the Wall Safely
Once you isolate the damaged spot, prepare to open the partition. Safety precautions protect you from hidden electrical lines and falling debris. Shut off electrical breakers supplying circuits inside that specific room wall. You never want to cut near live wiring hiding behind damp sheetrock. Lay drop cloths across the floor to catch gypsum dust and debris. Wear safety glasses and a dust mask before scoring any surface. Use a simple utility knife rather than a reciprocating power saw.
Deep power blades slice through copper, PEX, and electrical cables instantly. Score a neat six-inch square inspection window directly over the wet spot. Cut shallowly, penetrating only half an inch through standard sheetrock layers. Remove the drywall square by hand and shine a bright flashlight inside. Look along vertical supply pipes for steady drips, pinholes, or mineral crust. Once you spot the broken pipe, clear out wet fiberglass insulation carefully. Bag damp insulation in heavy plastic to prevent spreading interior mold spores.
How to Seal the Damaged Pipe Behind Your Wall
Sealing the ruptured line restores your household plumbing system to working order. The repair method depends on pipe material, water pressure, and break size. Before applying any sealant, shut off your home main water shutoff valve. Open the lowest sink faucet to drain residual line pressure completely. Wipe the target pipe surface completely dry with clean shop towels. A dry, clean pipe surface ensures long-lasting adhesion for temporary patches.
You can knead two-part epoxy putty until uniform and press it firmly over pinholes. For larger splits, wrap a thick rubber gasket around the fracture and tighten a stainless steel sleeve. Water-activated fiberglass wrap tape winds tightly around weeping joints and cures within thirty minutes. Permanent repairs often require cutting away bad sections with a pipe cutter and installing push-fit slip couplings. Tighten repair clamps evenly with an adjustable wrench to avoid deforming soft copper. Test your repair by turning the water main back on slowly. Inspect the sealed pipe section under full household pressure for ten minutes. Wipe with a dry tissue to verify no moisture seeps through.
Drying the Wall Cavity to Stop Black Mold
Sealing the pipe solves only half of your hidden moisture problem. Trapped water inside closed partitions continues to degrade structural wood studs. Leave the drywall inspection hole open for several days after repair. Direct a high-velocity fan directly into the open stud cavity continuously. Set up a portable dehumidifier in the room to pull airborne water. Run these drying appliances until wood studs show normal ambient moisture readings. Spray all exposed framing with a certified antimicrobial mold cleaner thoroughly. Never use pure chlorine bleach on bare structural wood framing lumber. Bleach evaporates quickly, leaving water behind that feeds deep fungal mycelium roots. Let the biocidal spray dry completely before closing the wall. Once framing dries under twelve percent moisture content, patch the sheetrock. Install a new drywall piece, tape the seams, and apply joint compound. Prime the patched area with mold-resistant primer before painting the final coat.
FAQ
How can I tell if a hidden water leak is active?
Check your utility meter while keeping all plumbing fixtures turned off. If the flow indicator moves, an active plumbing line is losing water. You can also press a dry tissue against suspect surfaces to check for dampness.
Can a hidden water leak cause black mold behind walls?
Yes, persistent dampness creates ideal conditions for black fungal colonies. Fungi germinate on moist sheetrock cellulose paper within twenty-four to forty-eight hours. Prompt drying and antimicrobial treatment prevent dangerous structural contamination.
What is the best tool for leak detection at home?
A digital pinless moisture sensor offers the best balance of price and accuracy. It reads moisture levels through drywall without puncturing painted finishes. Plumbers also use acoustic listening discs to hear high-pressure line sprays.
